An aerospace component supplier was qualifying flow-control valves on an open bench at up to 100 psi. The operator connected lines by hand, ramped pressure, read gauges, wrote down numbers on a printed form, and pasted the form into a logbook at end of shift. It worked. But three things made it a candidate for a rebuild:
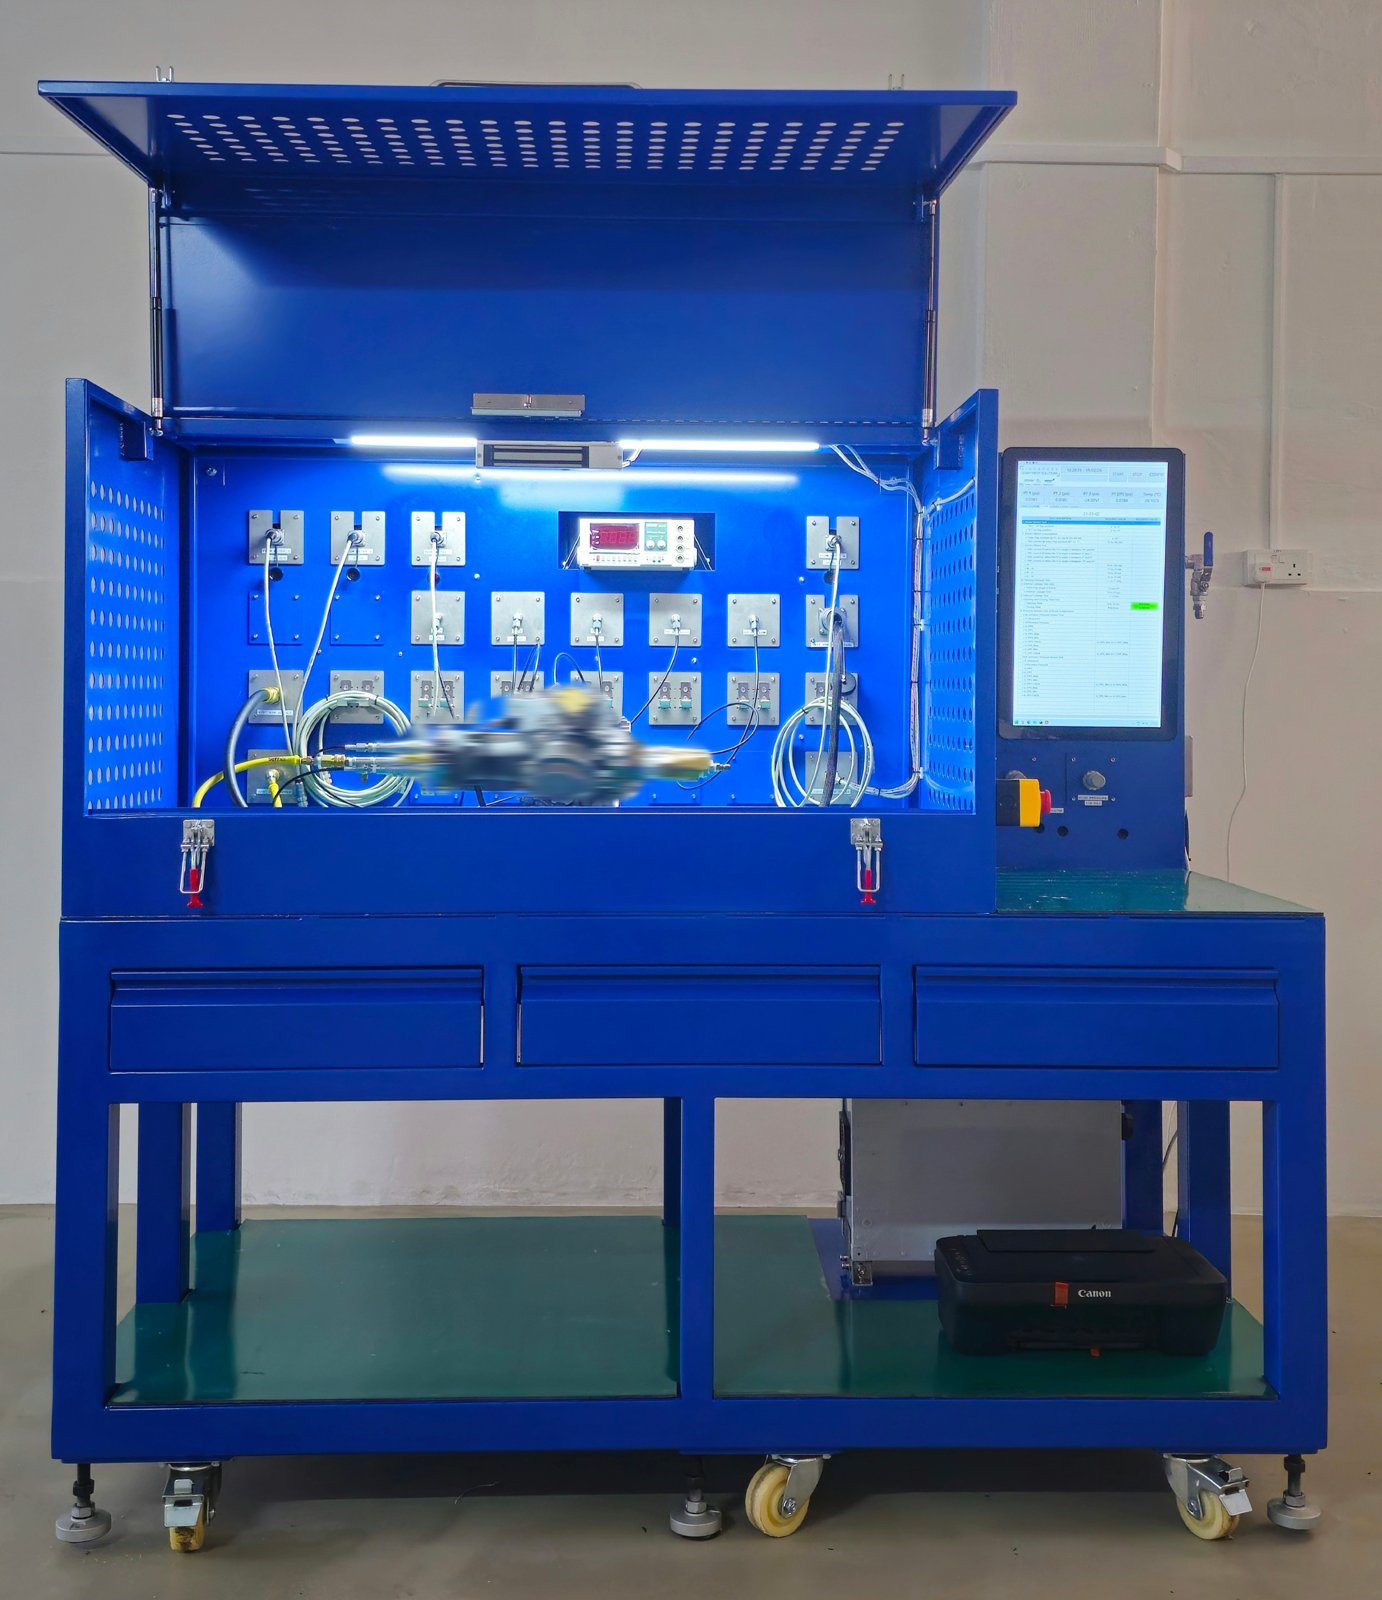
A fully enclosed, automated test station. Polycarbonate safety shielding around the pressurized section, operator-facing touchscreen, single-button start, and automatic logging to the client's server. The mechanical structure came first (SolidWorks), then the electrical and pneumatic design (Altium + pneumatic schematic), then the LabVIEW control software.
The test sequence mirrors the CMM spec one-to-one: pre-conditions, pressure ramps, hold times, leak checks, release, and a pass/fail summary. Results write to a standardized PDF and to the client's test database — no retyping, no logbook.
The safety enclosure wasn't a wrapper added at the end. It set the footprint, the cable routing, the operator's line of sight, and how you get a stuck valve out. Getting the enclosure right on the first 3D pass saved days downstream.
Inside the enclosure sits a custom control box: NI DAQ, solid-state relays, regulated DC supplies, pneumatic valve drivers, and all the interlocks. It's not glamorous, but it's what lets the LabVIEW code stay clean — low-level safety is implemented in hardware, not hopeful software.
For regulated components, "close to the CMM" is worse than "manual but compliant." We encoded every step of the CMM as a named state, with explicit tolerances and timeouts. The software won't let an operator improvise a sequence — which the operators actually preferred, because it meant audits weren't stressful.
The test station saves reports directly to the client's existing server share in a folder structure their QA team already uses. No new dashboard, no new login, no "yet another system to check." Adoption was instant.
Walk the 3D with the actual operators, not just the engineers. We did walk the CAD through with the client's engineering team — but this was their first test bench, so there were a lot of downstream questions that were hard for anyone to foresee at the design stage. The miss was that we didn't put the same 3D model in front of the production operators who would run the bench every day. A couple of ergonomics and workflow details only surfaced once they stood in front of the real machine. Next time, the operator walkthrough happens before the metal is cut.
Agree the testing prerequisites up front. A lot of development and commissioning time was eaten up waiting for inputs that should have been nailed down in week one — golden units to calibrate against, golden datasets to validate the pass/fail thresholds, reference CMM sequences in a usable form, and the client's server paths and permissions for where reports land. Next time, we'll build a written prerequisites checklist into the kick-off — golden units, golden data, reference sequences, IT integration points — and make having those in place a gate before software development really begins. Clearer prerequisites up front means fewer stop-start cycles during test, and a much smoother transition from build into commissioning.
Open-bench to enclosed-rig migrations are one of our most common projects. The technology is rarely the hard part — what takes judgment is where to put the boundary between hardware safety and software convenience, and how to turn a paper CMM into a deterministic test sequence without frustrating the operators.
If you have a bench that's safe-enough-for-now but slow, or a spec that's hard to audit against, send us a paragraph. We'll give you an honest read on what a rebuild would look like.
Tell us about it. We'll come back with a straight take on whether a rebuild is worth it.